Windows Terminal Configuration
The most exciting part after getting a new machine is configuration! In this post, I will share my configuration of Windows Terminal with PowerShell, focusing on the appearance settings, package management tools, command-line tools, and editor settings. I will walk you through the process of setting up a beautiful and functional terminal experience on Windows, which will greatly enhance your productivity and coding experience.
Table of Contents
- Installation and Startup
- Package Management Tools
- Appearance Settings
- Command-Line Tools
- Development Settings
- Conclusion
Installation and Startup
Intalling Windows Terminal and PowerShell 7.x
To get started, ensure you have Windows Terminal. If not, you can download it from the Microsoft Terminal Install Page. The default version of PowerShell that comes with Windows is PowerShell 5.1, but I recommend installing PowerShell 7.x for a better experience. For example, PowerShell 7.x provides access to the Get-PSSubsystem cmdlet, which is not available in PowerShell 5.1. The most useful function for me is PSReadLine, which can give you completion suggestions as you type (based on your history).
Please refer to the Installing PowerShell 7 on Windows guide for installation instructions. Usually, I install PowerShell via winget using the command:
winget install --id Microsoft.Powershell --source winget
One thing to note is that the PROFILE variable in PowerShell 7.x points to a different location than in PowerShell 5.1. You can check your profile path by running:
$PROFILE
Just for reference, you can check current PowerShell Modules and PSSusbsytems with the following commands. And here are my current outputs:
# PowerShell Modules
> Get-Module

ModuleType Version    PreRelease Name                                ExportedCommands
---------- -------    ---------- ----                                ----------------
Manifest   7.0.0.0               Microsoft.PowerShell.Management     {Add-Content, Clear-Content, Clear-Item, Clear-ItemProperty…}
Manifest   7.0.0.0               Microsoft.PowerShell.Utility        {Add-Member, Add-Type, Clear-Variable, Compare-Object…}
Script     0.0                   oh-my-posh-core                     {Enable-PoshLineError, Enable-PoshTooltips, Enable-PoshTransientPrompt, Set-PoshContext…}
Script     2.3.6                 PSReadLine                          {Get-PSReadLineKeyHandler, Get-PSReadLineOption, Remove-PSReadLineKeyHandler, Set-PSReadLineKeyHandler…}
Script     0.11.0                Terminal-Icons                      {Add-TerminalIconsColorTheme, Add-TerminalIconsIconTheme, Format-TerminalIcons, Get-TerminalIconsColorTheme…}

# PSSusbsytems
> Get-PSSubsystem

Kind              SubsystemType      IsRegistered Implementations
----              -------------      ------------ ---------------
CommandPredictor  ICommandPredictor         False {}
CrossPlatformDsc  ICrossPlatformDsc         False {}
FeedbackProvider  IFeedbackProvider          True {General Feedback}
We will discuss some of these modules later in the post. Some modules may require additional installation steps, but they provide great functionality.
Windows Terminal Startup
Personally, I like to set Windows Terminal with transparent background and Quake Mode (slide down from the top of the screen with a hotkey). Go to the Windows Terminal Settings, Settings > General > Appearance > Transparency. Enable Quake Mode by following the instructions on the Microsoft Quake Mode Page. You can also set the background image, font, and other settings. Here is my current profile settings in json format:
{
  "startup": {
    "defaultProfile": "PowerShell",
    "defaultTerminalApplication": "Windows Terminal",
    "language": "English (United States)",
    "defaultImeInputMode": "Default",
    "launchOnMachineStartup": true,
    "firstWindowPreference": "openTabWithDefaultProfile",
    "newInstanceBehavior": "createNewWindow",
    "launchSize": {
      "columns": 120,
      "rows": 30
    },
    "launchParameters": "default"
  }
}
My appearance settings for PowerShell:
{
  "profiles": {
    "list": [
      {
        "name": "PowerShell",
        "colorScheme": "Campbell",
        "font": {
          "face": "MesloLGM Nerd Font",
          "size": 12,
          "weight": "normal"
        },
        "lineHeight": 1.2,
        "cellWidth": 0.6,
        "useAcrylic": false,
        "opacity": 60,
        "cursorShape": "bar",
        "cursorColor": "#FFFFFF",
        "padding": "8, 8, 8, 8",
        "scrollbarState": "visible",
        "intenseTextStyle": "bright",
        "backgroundImage": null,
        "backgroundImageStretchMode": "none",
        "experimental.retroTerminalEffect": false,
        "antialiasingMode": "cleartype",
        "adjustIndistinguishableTextLightness": "never",
        "useAtlasEngine": true,
        "useAcrylicMaterial": false,
        "backgroundImageOpacity": 1.0,
        "backgroundImageAlignment": "center",
        "cursorHeight": 100,
        "fontFeatures": [],
        "builtinGlyphs": true,
        "experimental.retroTerminalEffect": false,
        "useAcrylic": false,
        "acrylicOpacity": 0.6,
        "experimental.pixelShaderPath": null,
        "intenseTextStyle": "bright",
        "backgroundImageOpacity": 1.0,
        "backgroundImageStretchMode": "none",
        "backgroundImageAlignment": "center",
        "useAtlasEngine": true,
        "experimental.retroTerminalEffect": false,
        "backgroundImageOpacity": 1.0,
        "useAcrylic": false,
        "backgroundOpacity": 60,
        "experimental.pixelShaderPath": null,
        "intenseTextStyle": "bright",
        "backgroundImage": null,
        "experimental.retroTerminalEffect": false,
        "builtinGlyphs": true,
        "experimental.useColorEmoji": true
      }
    ]
  }
}
Also, if you want to use Windows Terminal effectively, shortcut keys and hotkeys can be very useful.
ctrl+shift+cto close the current tabctrl+shift+tto open a new tabctrl+shift+nto open a new windowctrl+shift+mto open marker modectrl+tabto switch tabs forwardctrl+shift+tabto switch tabs backwardsf11to toggle fullscreen modectrl+f12to toggle focus modectrl+shift+pto open the command palette
You can find more in Settings > Actions.
Basic PowerShell Instructions
Commands in PowerShell can be very different from those in traditional Unix-like shells. Tutorials for beginners can be found in the PowerShell Documentation. There is a principal called “Verb-Noun” for cmdlet naming conventions. For example, Get-Help, Set-Location, Get-Process, etc. You can use Get-Help <cmdlet-name> to get help on any cmdlet. For example:
# Get help for the Get-Process cmdlet
Get-Help Get-Process

# Get commands related to a specific noun
Get-Command -Noun <noun>

# Get processes running on the system (ps equivalent)
Get-Process

# Get current directory (pwd equivalent)
Get-Location

# Get Items in the current directory (ls equivalent)
Get-ChildItem
Not that hard, right? Once you get used to it, PowerShell can be very powerful and flexible. But there is still a huge difference between PowerShell and traditional shells, so be sure to check out the documentation for more details. Especially, parameters and piping. Unlike traditional shells (such as CMD and Bash) that pass text, PowerShell passes rich ·.NET· objects that contain properties and methods. Here are some examples for reference:
# Piping example: Get processes and sort by CPU usage
Get-Process | Sort-Object CPU -Descending | Select-Object -First 5

# Parameter example: Get processes with a name containing "chrome" and stop them
Get-Process -Name *chrome* | Stop-Process
Basic PowerShell Profile Setup
Powershell profile is a file that contains commands and settings that are executed when you open a new PowerShell session. Consider it like a startup script for your PowerShell (.bashrc for Unix-like shells). You can add some basic commands and settings to your profile to make your life easier. Later, I will share my PowerShell profile setup in this post function by function. To open your profile, type <editor> $PROFILE in PowerShell. Again, note that $PROFILE is different for different PowerShell versions. So, make sure to replace it with the correct path.
Package Management Tools
Like apt for Ubuntu, yum for CentOS, brew for macOS, etc. Windows Terminal comes with a package manager called winget and a package manager called chocolatey. They are both very useful and easy to use. But focus on different use cases. I both of them for different purposes.
winget
Officially produced by Microsoft, it is lightweight, modern, and tightly integrated with the system. It is more like “App Store CLI” for Windows, focusing on installing and managing free open source or store applications. Features:
- Official Installation: In most cases, the official installer (e.g., .msi, .exe) is called and then installed using its silent parameters. The more modern MSIX is also supported.
- Secure Source: Microsoft will perform some scanning and verification, and the source is relatively trustworthy.
- Simple Usage: The command line syntax is more modern and concise.
You can find more information on the Winget GitHub Page or check the official website at Windows Package Manager. It is available for Windows 11 by default most of the time. You can also install it via the Windows Store by searching for “Winget”. For some useful commands, you can refer to the Winget documentation.
chocolatey
Chocolatey is an “automated software deployment platform” for Windows that manages software as code. Features:
- Community Driven : Community projects, commercial company support. “Trust lies in the community.” The packages in the public repository are provided by different maintainers, and users need to make their own judgments.
- Powerful Installation: It completely relies on automated scripts (PowerShell) to download and install silently, and can handle very complex installation processes (such as entering serial numbers, copying files, etc.).
- Classic Syntax: The command line syntax is classic and powerful, and some commands are more complex.
Download and install Chocolatey via the Chocolatey GitHub Page and official website at Chocolatey Installation. Run the following command:
Set-ExecutionPolicy Bypass -Scope Process -Force; [System.Net.ServicePointManager]::SecurityProtocol = [System.Net.ServicePointManager]::SecurityProtocol -bor 3072; iex ((New-Object System.Net.WebClient).DownloadString('https://community.chocolatey.org/install.ps1'))
Appearance Settings
Oh My Posh is a PowerShell prompt theme that is very popular (like oh my zsh in Windows). It is a very nice theme, with many different themes and styles. In this section, I will share my configuration and settings for Oh My Posh~
font
Oh My Posh was designed to use Nerd Fonts. Nerd Fonts are popular fonts that are patched to include icons. To see the icons displayed in Oh My Posh, install a Nerd Font, and configure your terminal to use it. Installation and configuration instructions can be found on the Oh My Posh Fonts. Installation by command:
Install-PSResource -Name NerdFonts
Import-Module -Name NerdFonts

Install-NerdFont -Name FiraCode   # Tab completion works on name
Configuration in Windows Terminal. This can be easily done by modifying the Windows Terminal settings (default shortcut: CTRL + SHIFT + ,). In your settings.json file, add the font.face attribute under the defaults attribute in profiles:
{
    "profiles":
    {
        "defaults":
        {
            "font":
            {
                "face": "MesloLGM Nerd Font"
            }
        }
    }
}
Configuration in Visual Studio Code is also supported. If you are using the JSON based settings, you will need to update the terminal.integrated.fontFamily value. Example in case of MesloLGM Nerd Font Nerd Font:
"terminal.integrated.fontFamily": "MesloLGM Nerd Font"
posh
So called “The most customizable and fastest prompt engine for any shell”. Check the Oh My Posh GitHub Page and official website at Oh My Posh. We can install it via chocolatey:
choco install oh-my-posh
or install it via winget:
winget install JanDeDobbeleer.OhMyPosh --source winget --scope user --force
For the PATH to be reloaded, a restart of your terminal is advised. If oh-my-posh is not recognized as a command, you can run the installer again, or add it manually to your PATH. For example:
$env:Path += ";C:\Users\user\AppData\Local\Programs\oh-my-posh\bin"
Next, need to configure shell to use oh-my-posh. Edit your PowerShell profile script, you can find its location under the $PROFILE variable in your preferred PowerShell version:
<editor> $PROFILE
If it returns an error. It probably means that the profile is not created yet. To fix this, run the following command:
New-Item -Path $PROFILE -ItemType File -Force
Add the following snippet as the last line to your PowerShell profile script:
oh-my-posh init pwsh | Invoke-Expression
Restart your terminal or reload your PowerShell profile to apply the changes:
. $PROFILE
Lastly, choose the theme you like. I use the paradox theme. You can find more themes and instructions on the Oh My Posh Themes. For me, I chose the powerlevel10k theme. Edit your $PROFILE file and add the following line:
# ---- Init Posh Theme ----
oh-my-posh init pwsh --config "${env:POSH_THEMES_PATH}\powerlevel10k_rainbow.omp.json" | Invoke-Expression
terminal icons
This is for better Get-ChildItem results, which shows icons. Refer to Terminal-Icons GitHub Page. To install the module from the PowerShell Gallery:
Install-Module -Name Terminal-Icons -Repository PSGallery
Configure the module by adding the following line to your $PROFILE file:
# ---- Better Dir List ----
Import-Module -Name Terminal-Icons
CompletionPredictor
This is for better Tab completion. Refer to CompletionPredictor GitHub Page. The CompletionPredictor plugin is built on the Subsystem Plugin Model, which is available with PowerShell 7.2 or above. To display prediction suggestions from the CompletionPredictor, you need PSReadLine 2.2.2 or above.
# Enable PSSubsystemPluginModel, required restart
Enable-ExperimentalFeature PSSubsystemPluginModel

# Install PSReadLine
Install-Module -Name PSReadLine -RequiredVersion 2.2.2

# Install CompletionPredictor
Install-Module -Name CompletionPredictor -Repository PSGallery
Import-Module -Name CompletionPredictor
Set-PSReadLineOption -PredictionSource HistoryAndPlugin
For toggling between inline and list mode, press F2. I configured it in my $PROFILE file like:
# ---- Better Prediction ----
Set-PSReadLineOption -PredictionViewStyle ListView

Command-Line Tools
tldr - Community-driven man
A much more user-friendly man command. You can find more information and installation instructions on the tldr GitHub Page. Installation via Chocolatey:
choco install tldr
It can show you the command example, usage, and description. And even some initialization settings. (I actually use this tool a lot. And for zoxide initialization, I just copy and paste given suggestions into my $PROFILE.)
bat - Better cat
Basically, this is a better cat command with syntax highlighting and user-friendly pagenation. Check out bat GitHub Page. Installation via Chocolatey:
choco install bat
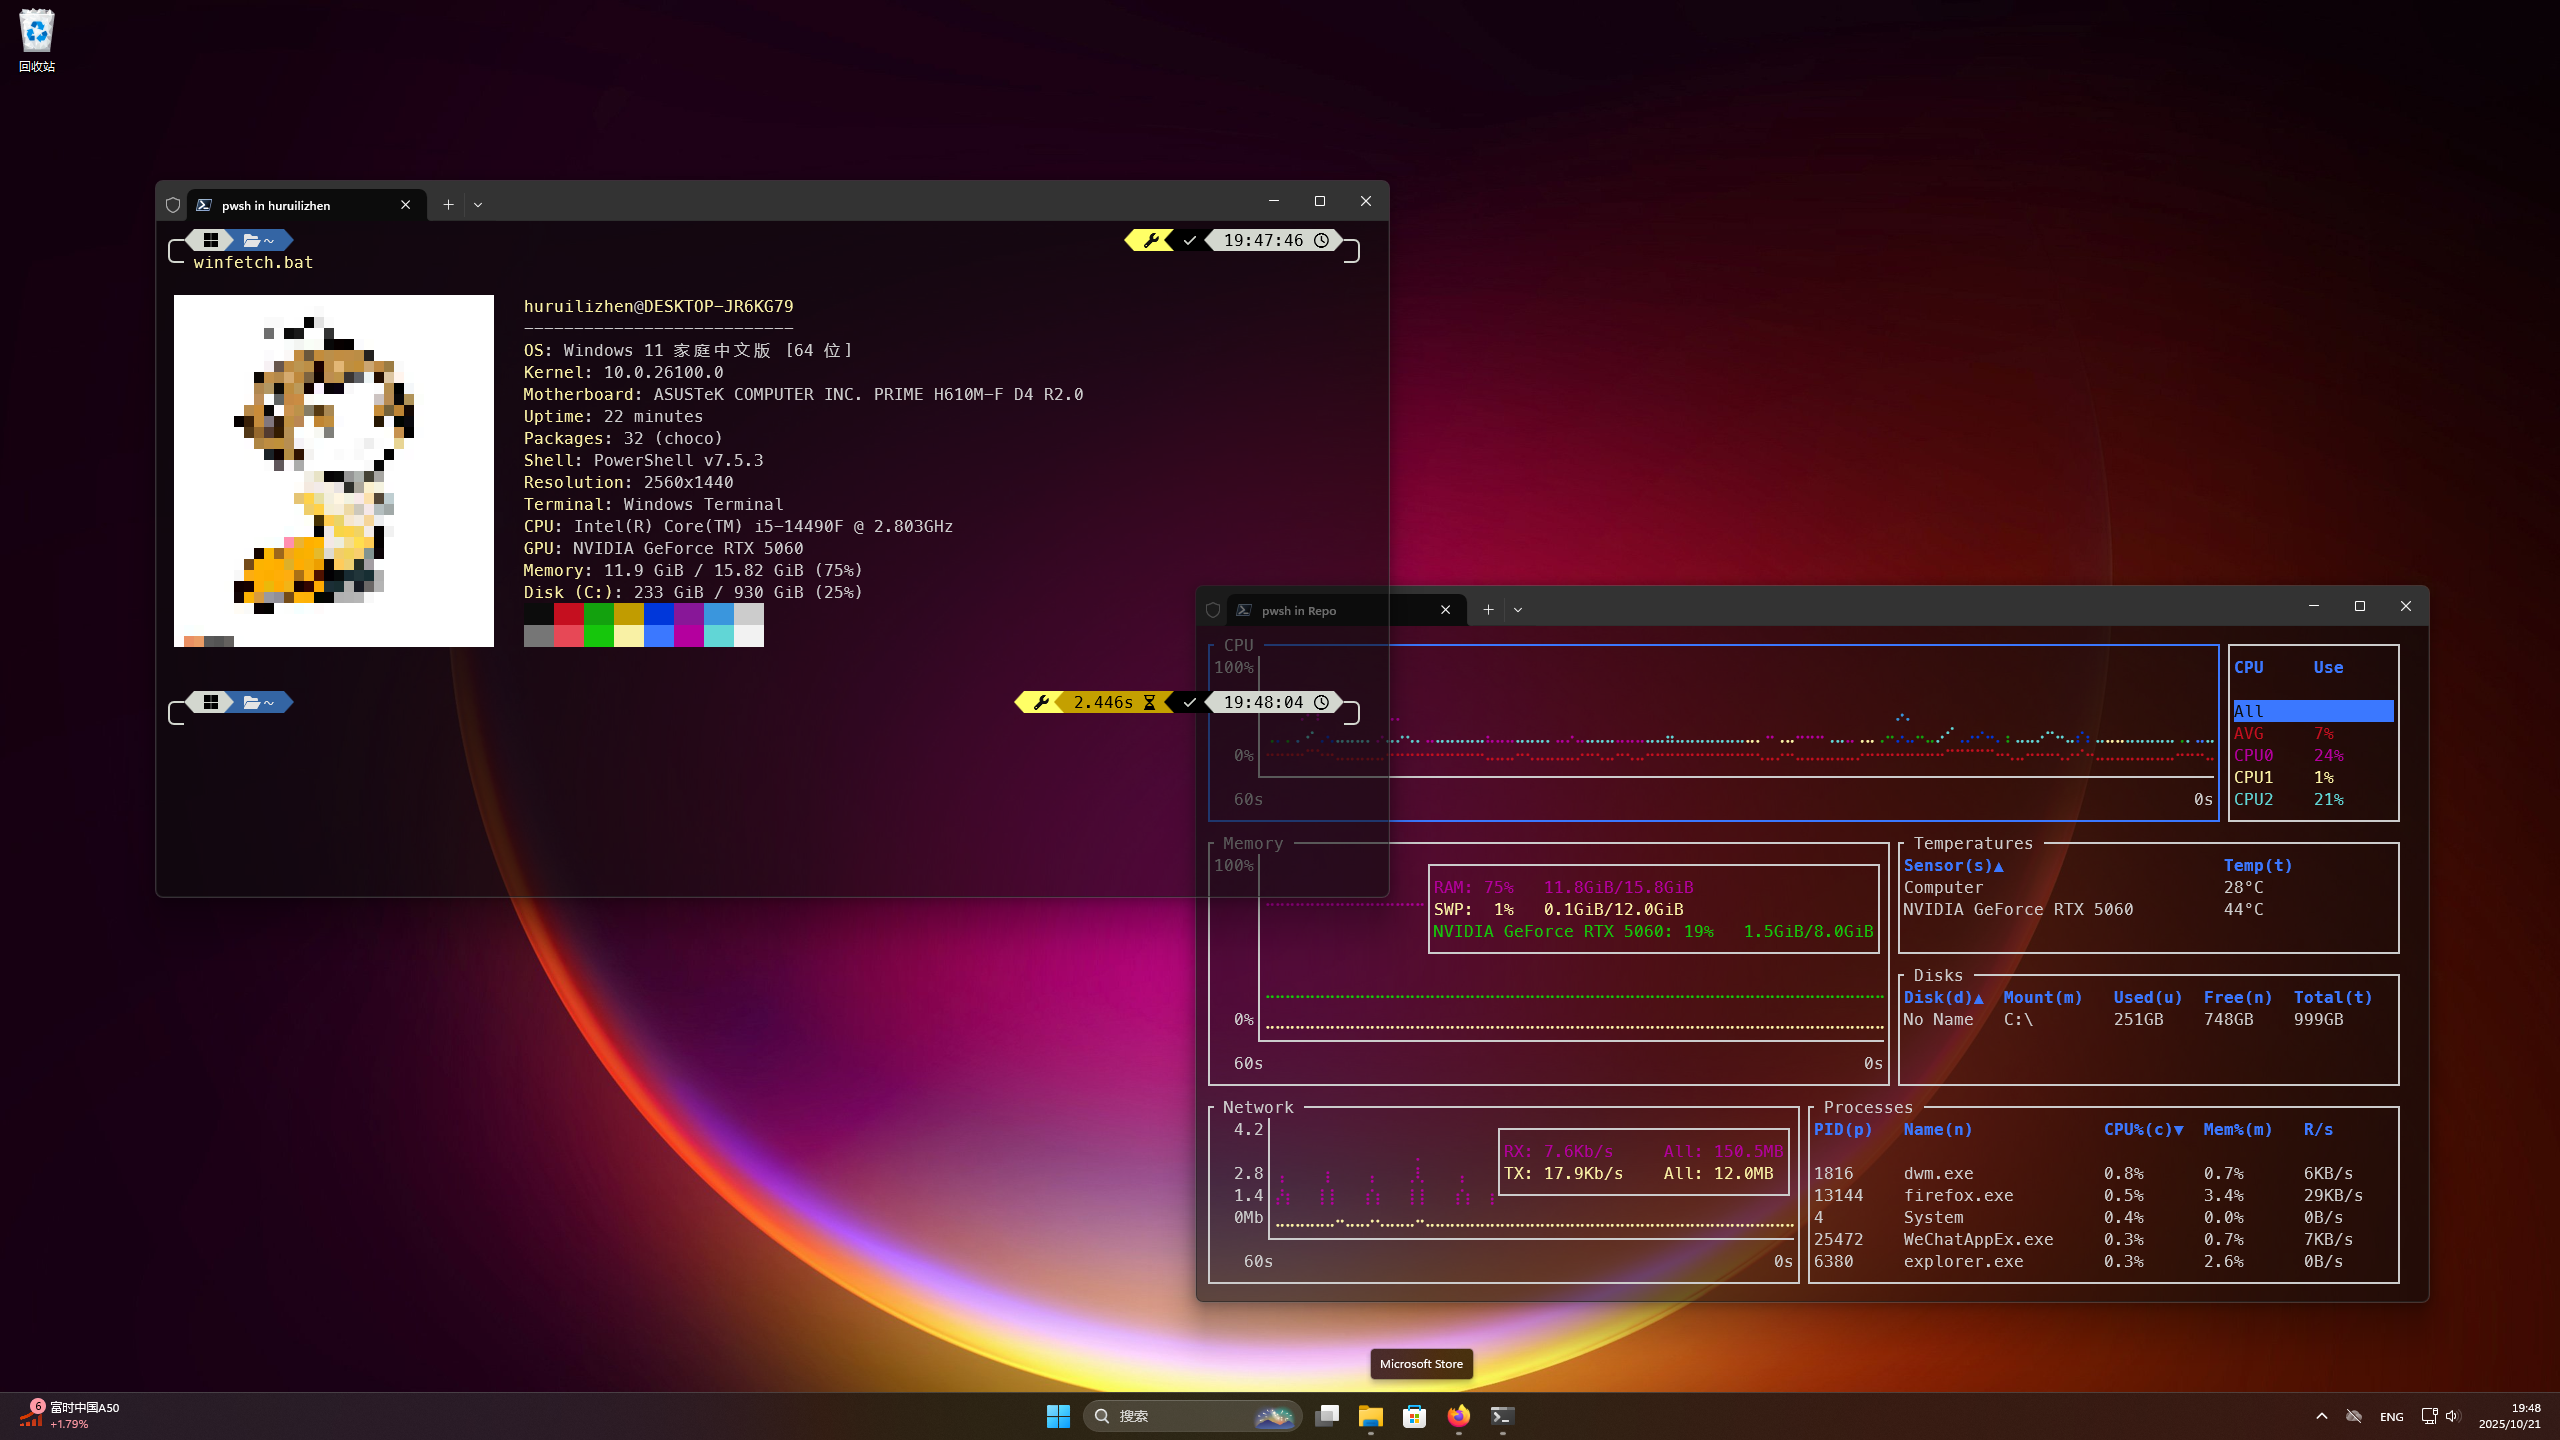
winfetch - System Info
A fancy tool to show system info. Check out winfetch GitHub Page. Installation via Chocolatey:
choco install winfetch
See my cover of this post. It can even show images in the terminal! I show my avatar on Github~
dust - Quick du
Quicker du replacement. It is written in Rust. Check out dust GitHub Page. Installation via Chocolatey:
choco install dust
gdu is another quick du replacement. It is written in Go. Check out gdu GitHub Page. Installation via Chocolatey:
choco install gdu
(actually, I prefer gdu’s ui over dust’s ui)
bottom - Better top
Opposite of top. Just joking. Check out bottom GitHub Page. Installation via Chocolatey:
choco install bottom
It is also a dependency of astronvim.
fzf - Fuzzy finder
Greatness needs no words! Check out fzf GitHub Page. Installation via Chocolatey:
choco install fzf
zoxide - Smart cd
It will change your terminal change path cmd from cd to z. Check out zoxide GitHub Page. Installation via Chocolatey:
choco install zoxide
yazi - TUI file manager
This is a blazing fast terminal file manager written in Rust. Check out Yazi Official Docs or the Yazi GitHub Page. Installation via Chocolatey:
choco install yazi
It is a very nice match for terminal-based workflows, especially if you already use tools like fzf, zoxide, bat, and ripgrep.
One important note for Windows users: yazi relies on the file tool to detect file mime types, and unlike Unix-like systems, Windows does not provide it by default. The community-recommended solution is to reuse the file.exe shipped with Git for Windows:
setx YAZI_FILE_ONE "C:\Program Files\Git\usr\bin\file.exe"
After that, restart your terminal. This is also the recommended setup in the official Yazi docs. If you installed Git in a different location, change the path accordingly.
Development Settings
In this section, I will introduce some useful tui tools for development.
lazygit - TUI for git commands
This open source tui tool just boost my git workflow. The most magic part is that it can commit patch by patch! You can find more information and installation instructions on the LazyGit Post. Installation via Chocolatey:
choco install lazygit

lazydocker - TUI for docker commands
Another powerful open source tui tool. It will level up your docker experience. The author is jesseduffield, the same author of lazygit. Installation via Chocolatey:
choco install lazydocker

astronvim - Distr of Neovim
This is my favorite Neovim distribution. It comes with a lot of pre-configured plugins and settings that make it easy to use right out of the box. You can find more information and installation instructions on the Astronvim GitHub page, or check the official website at https://astronvim.com/. Before configuring Astronvim, make sure you have Neovim installed. You can install Neovim via Chocolatey with the command:
choco install neovim
And also we have some dependencies for better coding experience:
- Nerd Fonts: done at font. Necessary for proper display of icons in the status line and file explorer.
- ripgrep: A fast search tool that is used by many Neovim plugins for searching files. Install via Chocolatey:
choco install ripgrep.<Leader>fwto search files. - lazygit: done at lazygit. Default git client for Astronvim. Install via Chocolatey:
choco install lazygit.<Leader>ggto open lazygit. - gdu: Short for “go disk usage”, A fast disk usage analyzer that can be used within Neovim. Install via Chocolatey:
choco install gdu.<Leader>gsto open gdu. - bottom: done at bottom. A better performance monitor. Install via Chocolatey:
choco install bottom.<Leader>ttto open bottom. - Python: Install via Chocolatey:
choco install python.<Leader>tpto open Python REPL. - Node.js: Node is needed for a lot of the LSPs. Install via Chocolatey:
choco install nodejs.<Leader>tnto open Node.js REPL.
Next, just follow the Astronvim Installation Guide to set it up.
-
Make a backup of your current nvim config (if exists)
Move-Item $env:LOCALAPPDATA\nvim $env:LOCALAPPDATA\nvim.bak -
Clean neovim folders (Optional but recommended)
Move-Item $env:LOCALAPPDATA\nvim-data $env:LOCALAPPDATA\nvim-data.bak -
Clone the repository
  git clone --depth 1 https://github.com/AstroNvim/template $env:LOCALAPPDATA\nvim
  # remove template's git connection to set up your own later
  Remove-Item $env:LOCALAPPDATA\nvim\.git -Recurse -Force
In another post of mine, I also talked about how to set up windsurf (powerful but free AI tool) with Neovim. please check it out here.
OpenSSH Server and Client
Setting up SSH is a little bit different on Windows compared to Unix-like systems, see OpenSSH Installation Guide. But still a easy task. First, check if you have administrator privileges:
(New-Object Security.Principal.WindowsPrincipal([Security.Principal.WindowsIdentity]::GetCurrent())).IsInRole([Security.Principal.WindowsBuiltInRole]::Administrator)
If got True, you can just run the following command to check if OpenSSH is installed. Remember to run it with administrator privileges:
Get-WindowsCapability -Online | Where-Object Name -like 'OpenSSH*'
If got something like this:
Name  : OpenSSH.Client~~~~0.0.1.0
State : NotPresent

Name  : OpenSSH.Server~~~~0.0.1.0
State : NotPresent
We need to install through following command:
# Install the OpenSSH Client
Add-WindowsCapability -Online -Name OpenSSH.Client~~~~0.0.1.0

# Install the OpenSSH Server
Add-WindowsCapability -Online -Name OpenSSH.Server~~~~0.0.1.0
It will take a few minutes to install. Once done, run the following commands to start the sshd service:
# Start the sshd service
Start-Service sshd

# OPTIONAL but recommended:
Set-Service -Name sshd -StartupType 'Automatic'

# Confirm the Firewall rule is configured. It should be created automatically by setup. Run the following to verify
if (!(Get-NetFirewallRule -Name "OpenSSH-Server-In-TCP" -ErrorAction SilentlyContinue)) {
    Write-Output "Firewall Rule 'OpenSSH-Server-In-TCP' does not exist, creating it..."
    New-NetFirewallRule -Name 'OpenSSH-Server-In-TCP' -DisplayName 'OpenSSH Server (sshd)' -Enabled True -Direction Inbound -Protocol TCP -Action Allow -LocalPort 22
} else {
    Write-Output "Firewall rule 'OpenSSH-Server-In-TCP' has been created and exists."
}
Next, we need to set up SSH keys. It is different for administrators and non-administrators. For non-administrators, we can add public keys to the authorized_keys file of the user.
nvim ~\.ssh\authorized_keys
For administrators, add public keys to the administrators_authorized_keys file which located at C:\ProgramData\ssh\:
nvim C:\ProgramData\ssh\administrators_authorized_keys
Initially, OpenSSH server will use cmd.exe as the default shell. Let’s change it to powershell.exe:
$NewItemPropertyParams = @{
    Path         = "HKLM:\SOFTWARE\OpenSSH"
    Name         = "DefaultShell"
    Value        = "C:\Program Files\PowerShell\7\pwsh.exe" # or change to the path of favorite shell executable
    PropertyType = "String"
    Force        = $true
}
New-ItemProperty @NewItemPropertyParams
Boom! We are now ready to use SSH to connect to the Windows machine!
Conclusion
Customize your terminal to fit your workflow and enjoy a more efficient coding experience on Windows! And here is my final checklist of tools and settings (I deleted some less relevant tools for brevity):
# Chocolatey Packages
> choco list
Chocolatey v2.5.1
bat 0.25.0
bottom 0.11.2
chocolatey 2.5.1
dust 1.2.3
fastfetch 2.53.0
fzf 0.59.0
git 2.51.0.2
git.install 2.51.0.2
Lazydocker 0.23.3
lazygit 0.55.1
less 679.0.0
neovim 0.11.4
nodejs 22.20.0
nodejs.install 22.20.0
oh-my-posh 27.1.2
ripgrep 14.1.0
tldr 1.0.0
tldr-plusplus 0.6.1
winfetch 2.5.1
yazi 26.1.22
zoxide 0.9.2
And here is my current profile settings:
# ---- Oh My Posh ----
oh-my-posh init pwsh --config "${env:POSH_THEMES_PATH}\powerlevel10k_rainbow.omp.json" | Invoke-Expression

# ---- Terminal Icons ----
Import-Module -Name Terminal-Icons

# ---- PSReadLine ----
Set-PSReadLineOption -PredictionViewStyle ListView

# ---- Zoxide ----
# Just copy and pasted from tldr zoxide init instructions. It works! :)
If you also use yazi, remember that Windows needs an extra environment variable for file.exe support:
setx YAZI_FILE_ONE "C:\Program Files\Git\usr\bin\file.exe"
For Powershell Modules and PSSusbsytems, refer to the Powershell Modules and PSSubsystems Checklist.
Related Posts / Websites 👇
📑 Tim Deschryver - Creating A Good Looking Windows Terminal
📑 Tim Deschryver - How I Have Set Up My New Windows Development Environment in 2022
📑 Microsoft - Installing Powershell on Windows
📑 Microsoft - Get PSSsubsystem
📑 Microsoft - OpenSSH Installation Guide
📑 Microsoft - OpenSSH Key Management
📑 GitHub - winget, GitHub - chocolatey
📑 GitHub - tldr, GitHub - bat, GitHub - dust, GitHub - gdu, GitHub - fzf, GitHub - zoxide, GitHub - yazi
Comments